Our Location
5th Floor, Huake Center, Lanshan District, Linyi City, Shandong Province, China

5th Floor, Huake Center, Lanshan District, Linyi City, Shandong Province, China
H plywood clips, usually called H clips or panel clips, are small galvanized steel fasteners driven at the seam between two sheets of roof and subfloor plywood. They do one simple job: stop unsupported panel edges from curling upward between the framing. This guide explains what the clip looks like, where it goes, and why the small metal piece matters more than its size suggests.
The clip costs little and takes seconds to install, which makes it one of the cheapest fixes in a framing package.
Most roof failures from edge lift trace back to omitted clips or nails, so the part deserves a line in the install plan, not a skip in the tool bag.
Understanding the clip also sharpens the rest of the decking install, because it forces a planner to look at the seams before the first sheet lands.
The clip discussion also matters to anyone pricing a roof rebuild, because the small item appears in the material list and the labor plan as a line that decides the seam quality.
Local code pages name the clip requirement plainly in the roof section, so a quick check at plan time answers every spacing question before the crew reaches the ridge.
An H clip takes its name from its shape: two small flanges joined by a center strap, which lands across the butt joint between adjacent panels. The clip sits on top of one sheet edge and straddles into the other, holding both faces level while the nails pass through the flanges.
The clip goes at the panel seam wherever that seam falls between the supports, which happens constantly on roof and floor layouts. To fit the H, the installer nails the clip flange along with the sheet, so the clip becomes part of the edge nailing pattern.
First, lay the sheets so the seam lands over solid framing where possible, then use the clips to carry the edges that still fall short of a joist or rafter.
The clip stays on the surface, flush with the faces, so a roof or floor covering lays directly over it without a bump. No recess or routing is needed, which keeps the install fast.
Minimal and T-shaped clips perform the same brace in different profiles, and the installer picks whichever the plan and the panel thickness call for.
Galvanized steel clips suit most roofs, while stainless versions resist the damp of coastal sites where the condensation works the steel harder.
Sheet orientation affects where the clips land too, so the layout marks the seams first and the clip positions follow from the nailing plan.
Unsupported edges bow when weight, moisture, or weather press on the panel. On a roof, sunlight and damp create a cupping force at the sheet edge, and the curl lifts the seam and weakens the covering above it.
Consequently, the edge curl does more than look uneven. It cracks the roofing or flooring layer, lets water reach the panel plane, and turns a five-cent fastener omission into a repair bill that runs across the deck.
An H clip counters that by tying two adjacent panels together at the seam, so each sheet helps hold the other’s edge flat. The pair behaves like one larger panel instead of two loose edges over an empty bay.
The same logic applies to floors, where foot traffic and rolling loads work the seam continuously. A braced edge stays level and quiet, while a free edge flexes and squeaks under the same traffic.
Edge support also quiets the deck. A braced seam stays still under foot traffic, while a free edge transmits every step through the structure as a creak or visible bounce.
Warm roofs and cold roofs both use the clips, because the uplift force visits the seam whichever side the insulation sits on.
A lifted deck edge also breaks the seal on the covering, so a tiny curl becomes a water path that the rest of the roof never notices until the deck rots.
Clips and edge blocking solve the same problem in different ways. Blocking carries the seam on solid framing nailed beneath the joint, while clips brace the edges without extra framing. Blocking costs more labor, so builders reserve it for heavy load paths.
As a result, the choice follows the load. Light roofs and standard floors use clips, while a deck that carries vehicles or unyielding equipment wants blocking under the seam. The local framing guide states which option the layout requires.
However, clips never replace the required edge nailing. They brace between sheets, and the nails still carry the panel to the framing.
In contrast, blocking also gives the underside a continuous surface for finish work, so rooms that show the underside pay for the extra framing there.
Some plans mix the two: clips along the field seams and blocking at the heavy load points. The combination keeps labor down where it matters and strength up where the loads land.
On floors that carry point loads, the block beneath the seam transfers the load straight to the joist, which a clip cannot replicate.
Install H clips as the sheets go down, not after. Set the clip across the seam on the surface, drive nails through both flanges into the panel below, and keep the clip flat to the faces so the seam stays level.
Furthermore, space the clips evenly along the seam. A common habit is roughly one clip every twenty-four inches along the joint, with the local code and the sheet thickness as the final word. Check the plan before the deck is covered.
In contrast, overdriving the nail through the flange tilts the clip and defeats the brace, so set the nail head flush without sinking it deep into the surface.
Sequence matters as well. Fit the clip at the moment the second sheet lays, not after several sheets, because the seam must stay open and level while the clip straddles it.
Check the clip orientation against the seam direction, because the flange must straddle the joint and not sit parallel to it. A rotated clip carries no brace at all.
Count clips against the plan before cover boards go on, because a seam that misses its clip cannot take one later without lifting the deck covering.
Pneumatic nailers set clip flanges cleanly when the operator keeps the nose flat, and a hand check on the first clip catches the depth before the row continues.
The clip only performs as well as the panel around it. A stable, properly bonded sheet keeps the edge true where the clip sits, so the panel spec still decides the seam. Higher bond ratings suit roofs that see damp air and heat cycling.
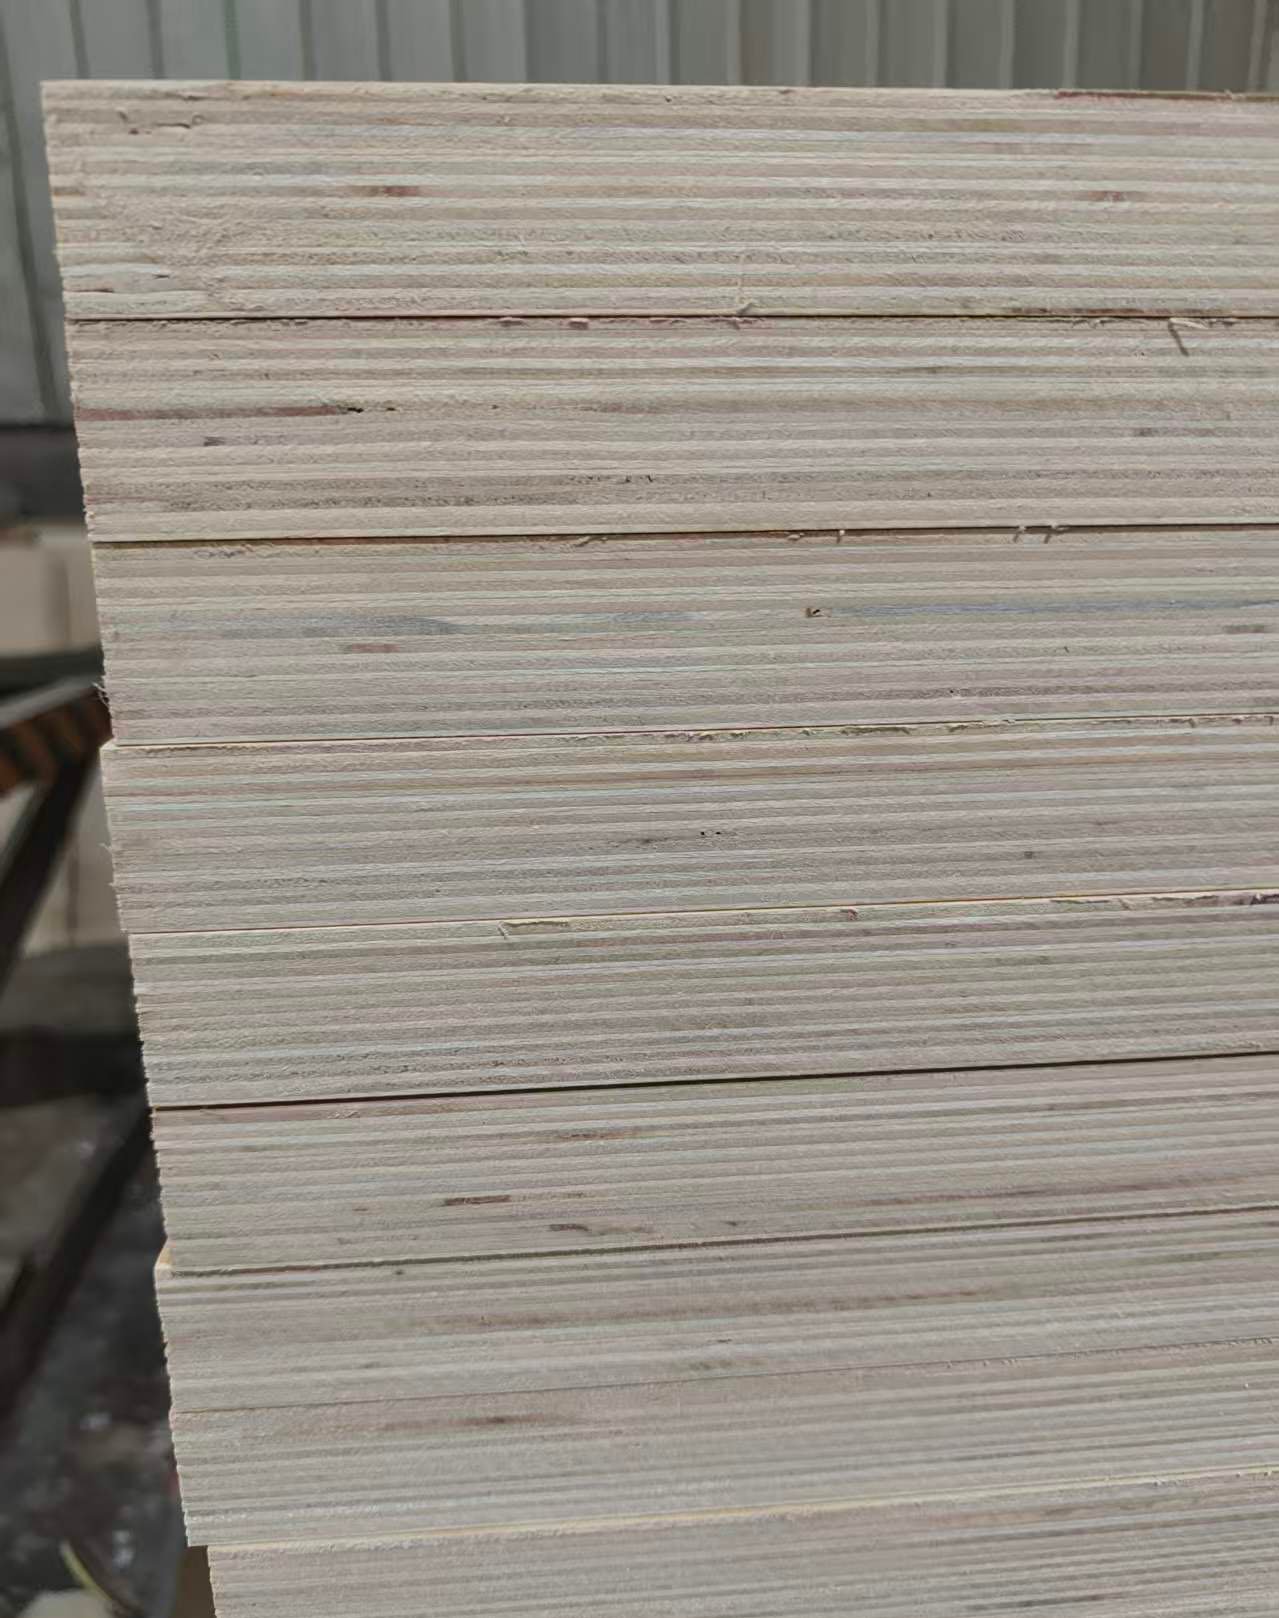
For outdoor structures, a durable construction sheet such as Film Faced Plywood carries a sealed surface through weather, while general-duty Commercial Plywood grades suit covered framing, and a faced interior sheet such as Melamine Plywood stays clean for furniture-grade sub-assemblies.
However, the clip count and the panel spec arrive on the same plan sheet. A thicker panel spans more confidently between supports, which often reduces the number of clips a seam needs.
Panel tolerances matter as well. A sheet cut square and sized true keeps the seam narrow and the clip flush, while a warped edge forces a wide joint that braces poorly.
If the deck takes a glued underlayment, the bond shares the edge duty with the clips. The two methods work together rather than replace each other.
Suppliers such as HYY quote panels against the written bond and thickness, so a clip pattern sized for the sheet arrives with a matching panel spec.
Quick answers to the seam questions that come up in the field.
Yes wherever a panel seam falls between supports. The clips brace the unsupported edge and stop the curl that cracks the covering above the deck.
Follow the code and the plan, with a common rhythm of about one clip every twenty-four inches. Spacing tightens on thin sheets and loosens where the layout allows.
Clips carry light and medium loads, while blocking supports heavy point loads under a seam. Choose blocking where the load path pushes the panel.
The crown or designated face faces up. Clips sit on the surface at the seam, so the flanges lie flat on whichever face carries the wear.
No. They brace the seam without framing, but blocking remains the answer for heavy loads and smooth underside finishes.